Welcome to the CyderVis Documentation
CyderVis is a lightweight, cross-platform CAN visualization and diagnostic tool for working with. It enables receiving, decoding, plotting and transmitting of CAN frames on both Linux and Windows.
Getting Started
To get up and running quickly, follow one of the platform-specific setup guides:
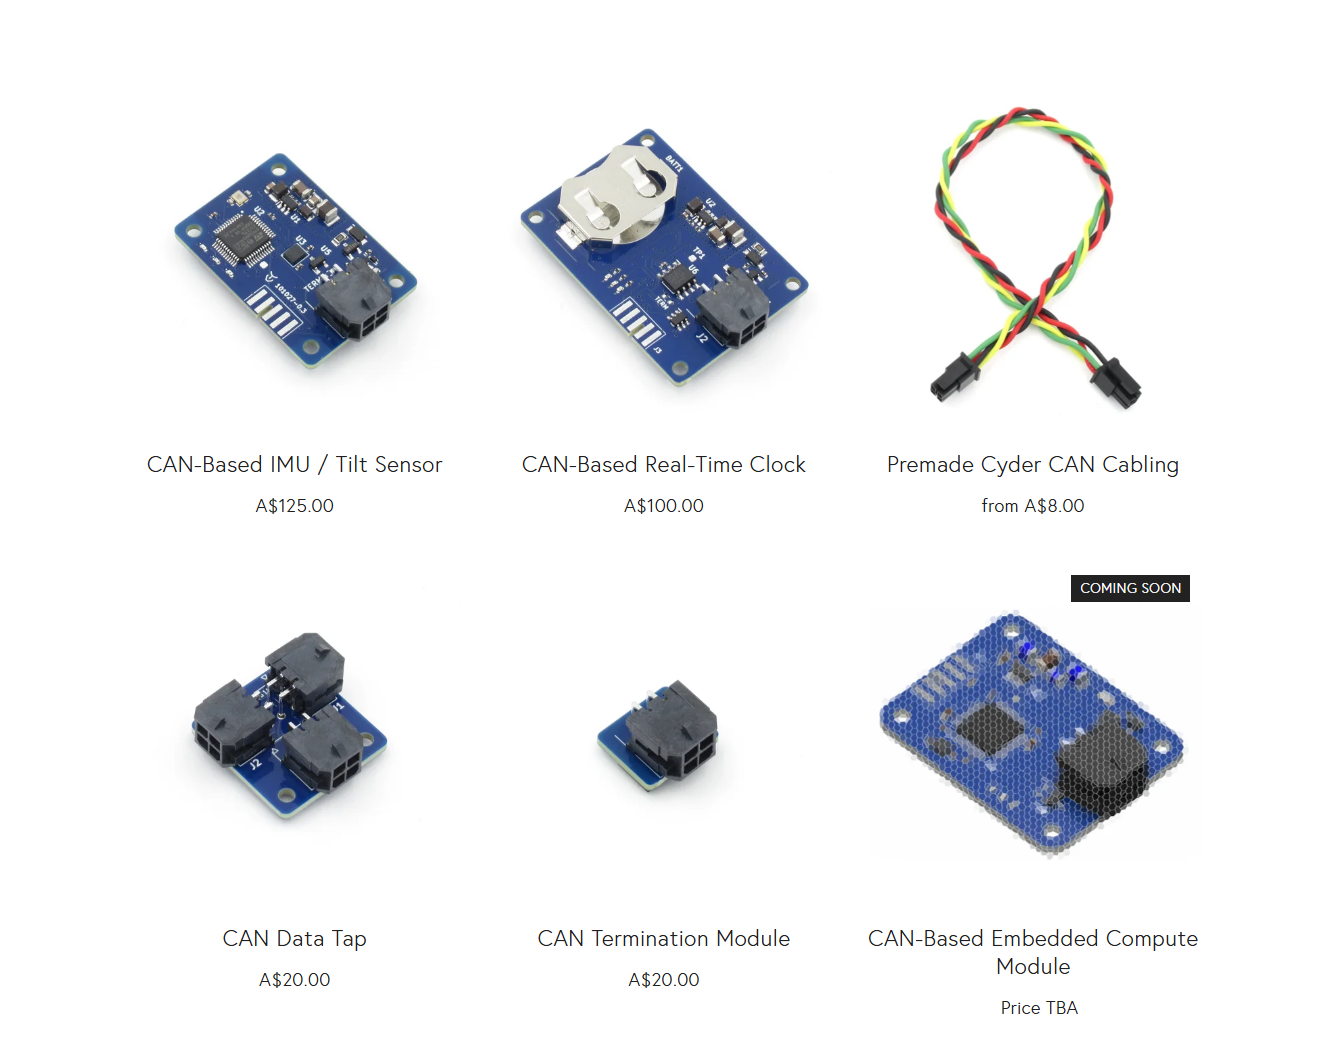
Explore Cyder CAN Devices
We're committed to making robotics development simpler by providing a range of industry-ready CAN devices that integrate seamlessly into commercial robotics systems.
As part of this mission, we developed CyderVis to make CAN technology more accessible and usable for everyone — from hobbyists to professionals.
If you’re building CAN-based systems and need easy-to-integrate, industry-ready hardware, explore the Cyder product range from Cyborg Dynamics Engineering:
Getting Started on Windows
This guide walks you through setting up and running CyderVis on Windows.
Step 1: Install win-can-utils
win-can-utils is an open-source Windows port of Linux’s can-utils.
It provides the backend required for interfacing with your CAN adapter on Windows.
Follow the installation and usage instructions in the official win-can-utils README.
Step 2: Download and Run CyderVis
-
Visit the CyderVis Releases page on GitHub.
-
Under the latest release, expand the Assets dropdown and download the Windows
.zippackage.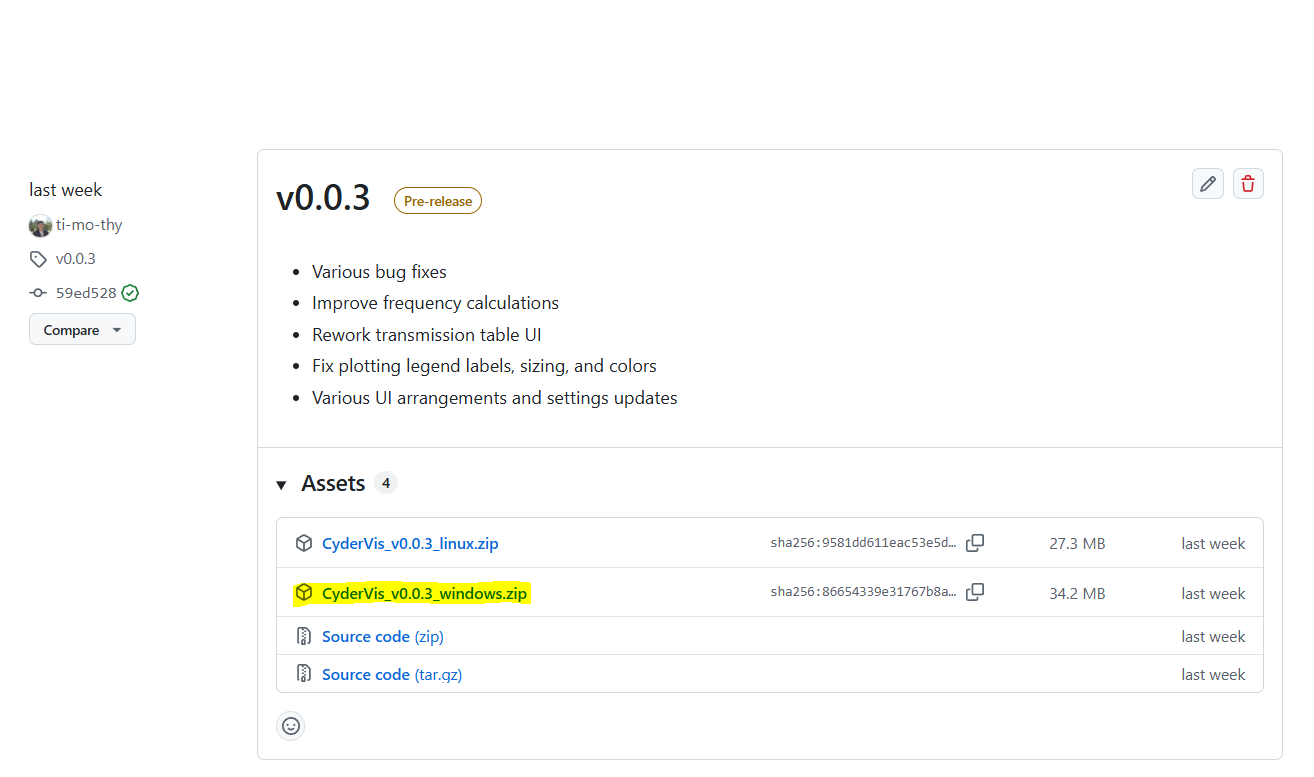
-
Extract the downloaded
.zipfile to your preferred location. -
Run the executable file:
CyderVis_vx.x.x_windows.exe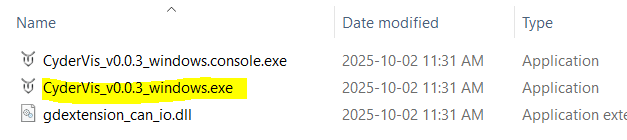
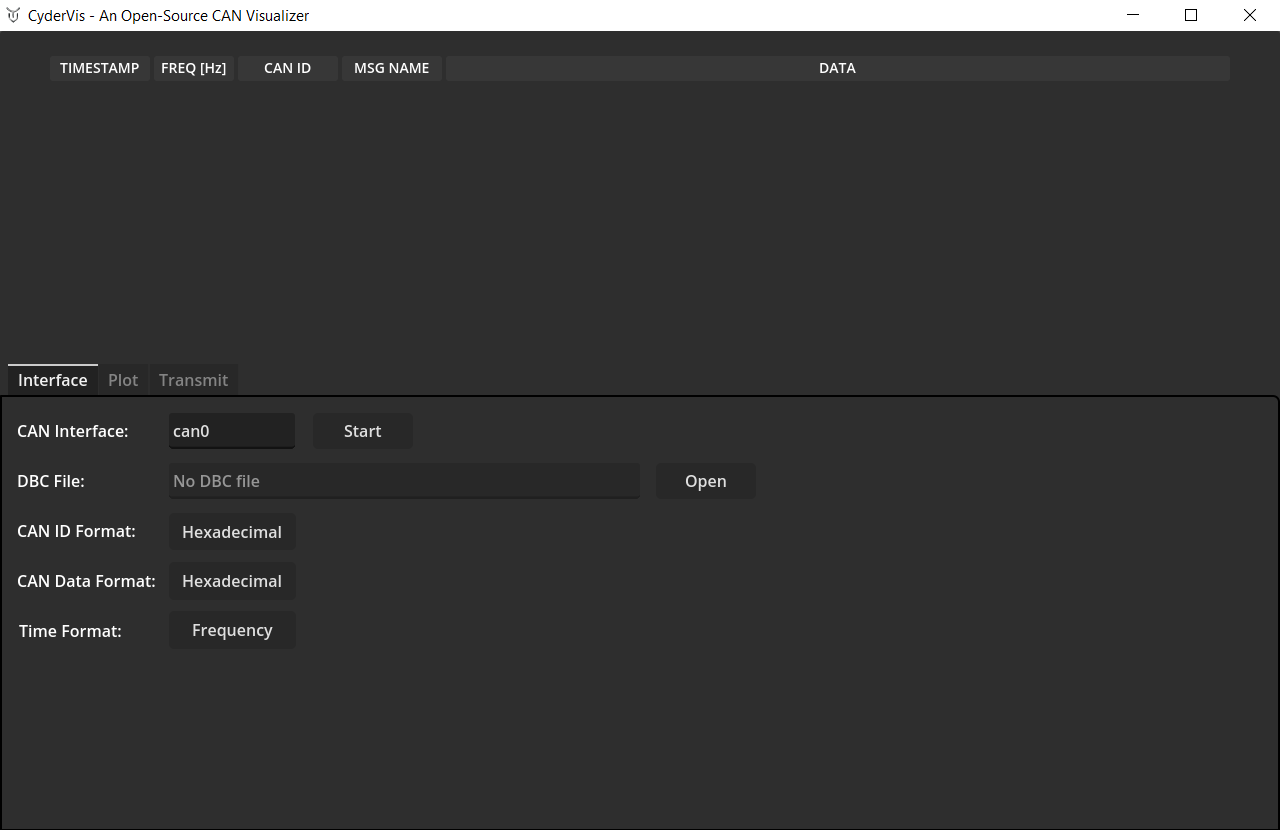
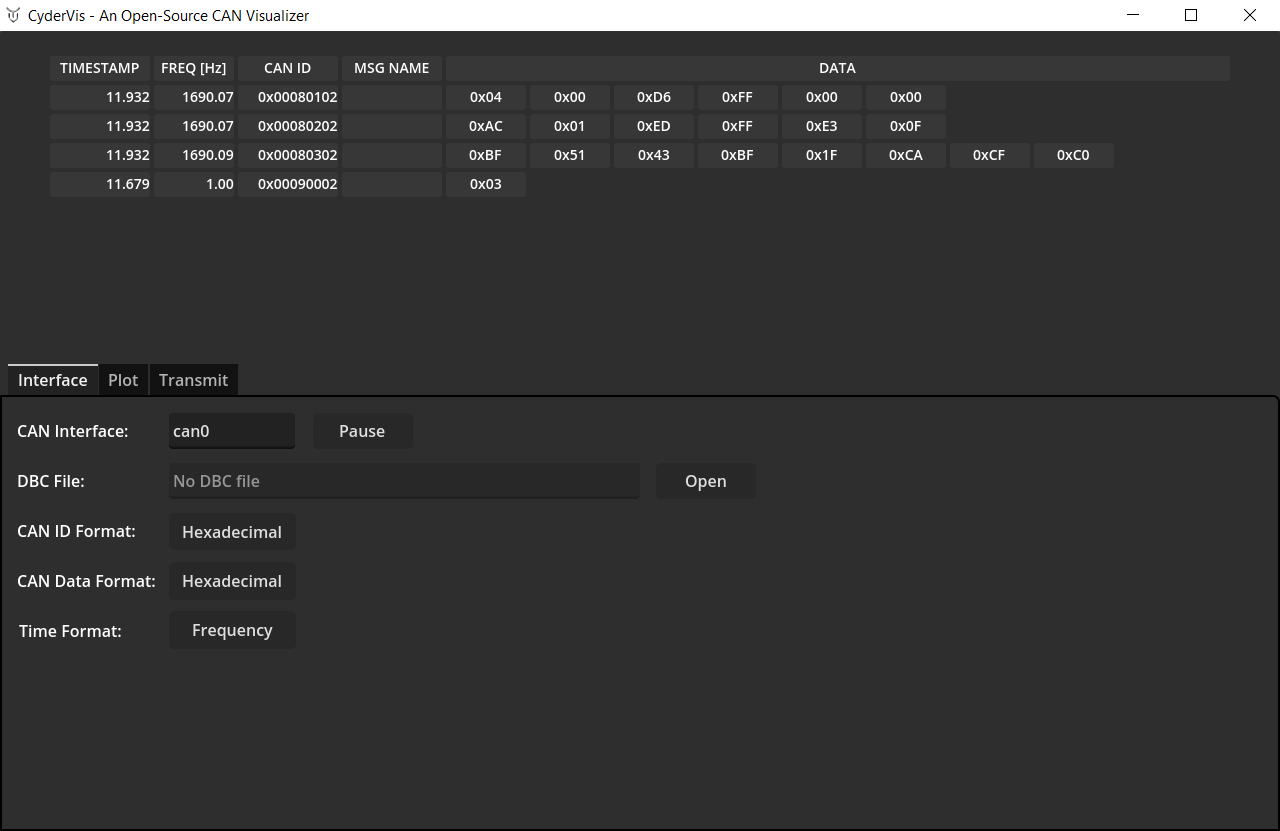
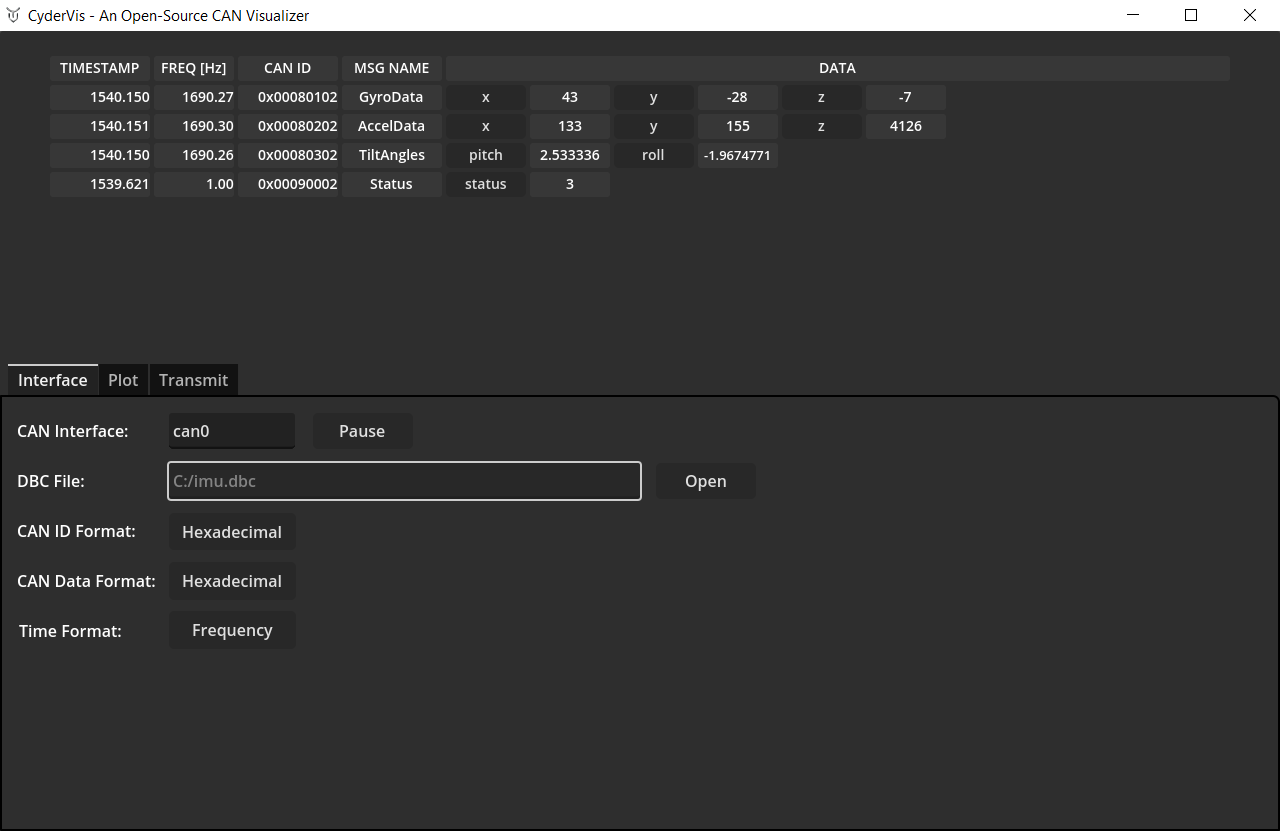
Once launched, the CyderVis window will open:
Step 3: Start a CAN Server
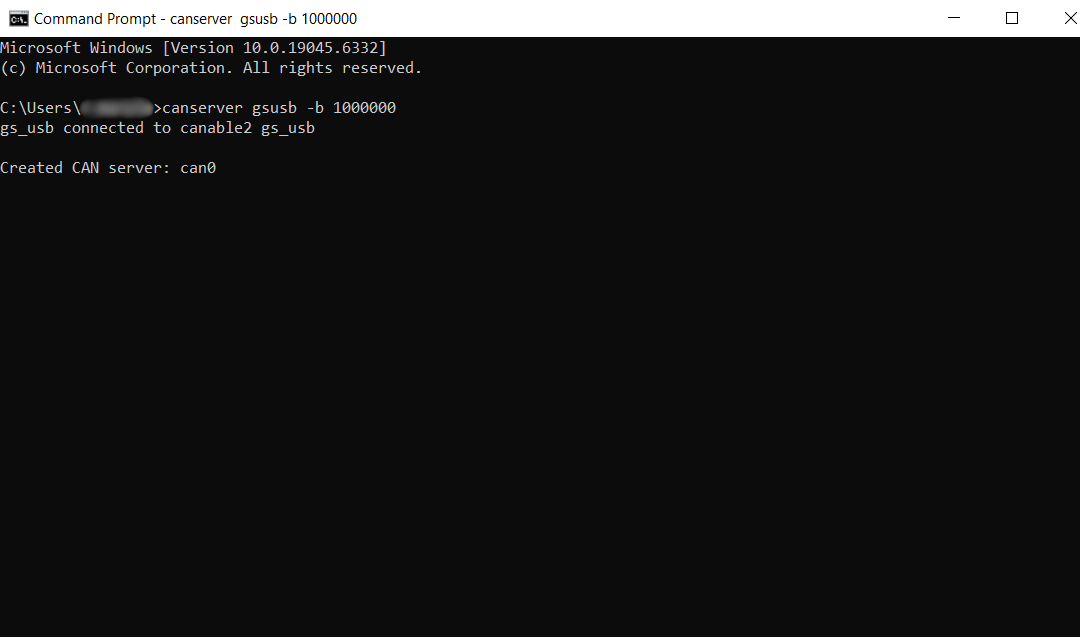
With your USB CAN adapter connected, start a CAN server using win-can-utils:
# Example: start a server for a gsusb (candleLight) device with a bitrate of 1 Mbps
canserver gsusb -b 1000000
This will start the CAN interface (usually named can0 by default).
💡 Note:
Thecanservermust remain running while CyderVis is active.
If you close it, CyderVis will lose connection to the CAN interface.
User Guide
With the CAN interface up, move on to the CyderVis User Guide
Getting Started on Linux
This guide walks you through setting up and running CyderVis on Linux.
Step 1: Download and Run CyderVis
-
Visit the CyderVis Releases page on GitHub.
-
Under the latest release, expand the Assets dropdown and download the Linux
.zippackage.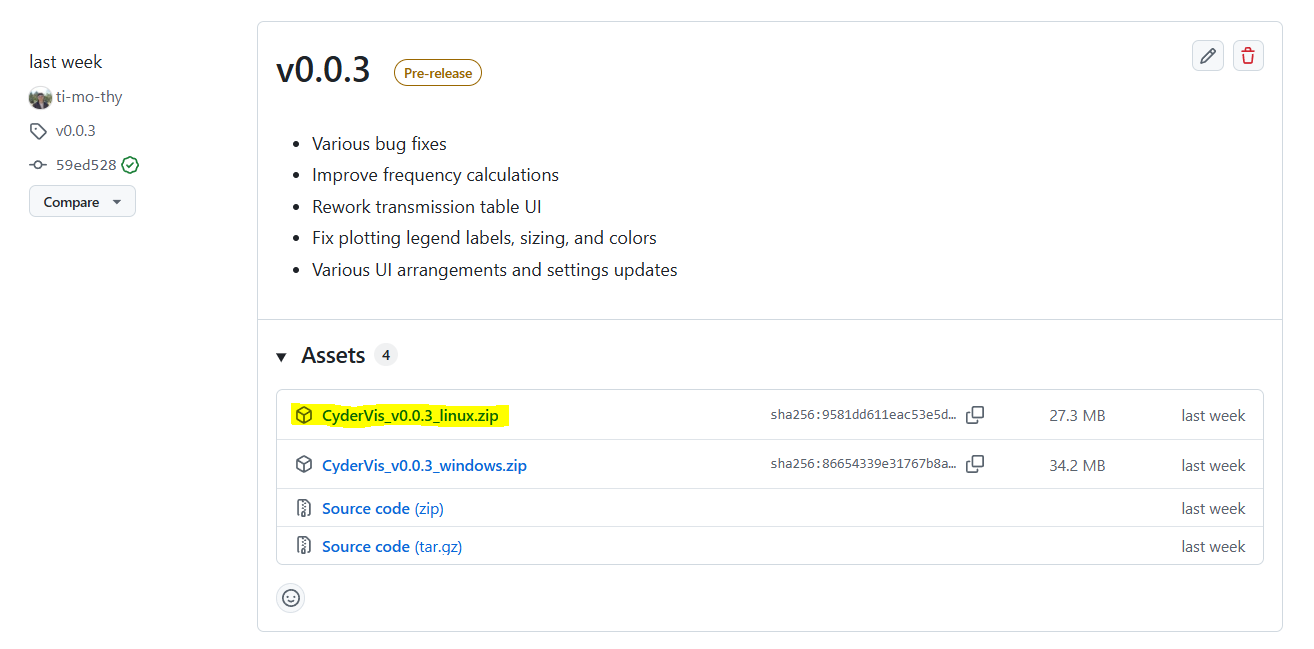
-
Extract the downloaded
.zipfile to your preferred location. -
Run the executable:
./CyderVis_vx.x.x_linux
Once launched, the CyderVis window will open:
Step 2: Bring up a CAN interface
With your USB CAN adapter connected, bring up the CAN interface using the ip command:
sudo ip link set can0 up type can bitrate 1000000
This starts the can0 interface at a bitrate of 1 Mbps.
You can verify the interface is active using:
ip link show can0
By default, CAN devices have a tx queue length of 10. If sending many messages at a fast rate, it's usually a good idea to increase this. After bringing the interface up, the tx queue length can be increased using:
sudo ip link set can0 txqueuelen 1000
⚙️ Note:
Replacecan0and1000000with your actual interface name and bitrate if different.
User Guide
With the CAN interface up, move on to the CyderVis User Guide
CyderVis User Guide
Setup
Connect and Receive Data in CyderVis
- In CyderVis, locate the CAN Interface input field.
- Verify that the interface name matches the one brought up in the previous step (default is
can0). - Click Start to begin receiving data from the CAN adapter.
If other devices are active on the bus, incoming CAN frames will begin streaming into CyderVis and appear in the viewing table.
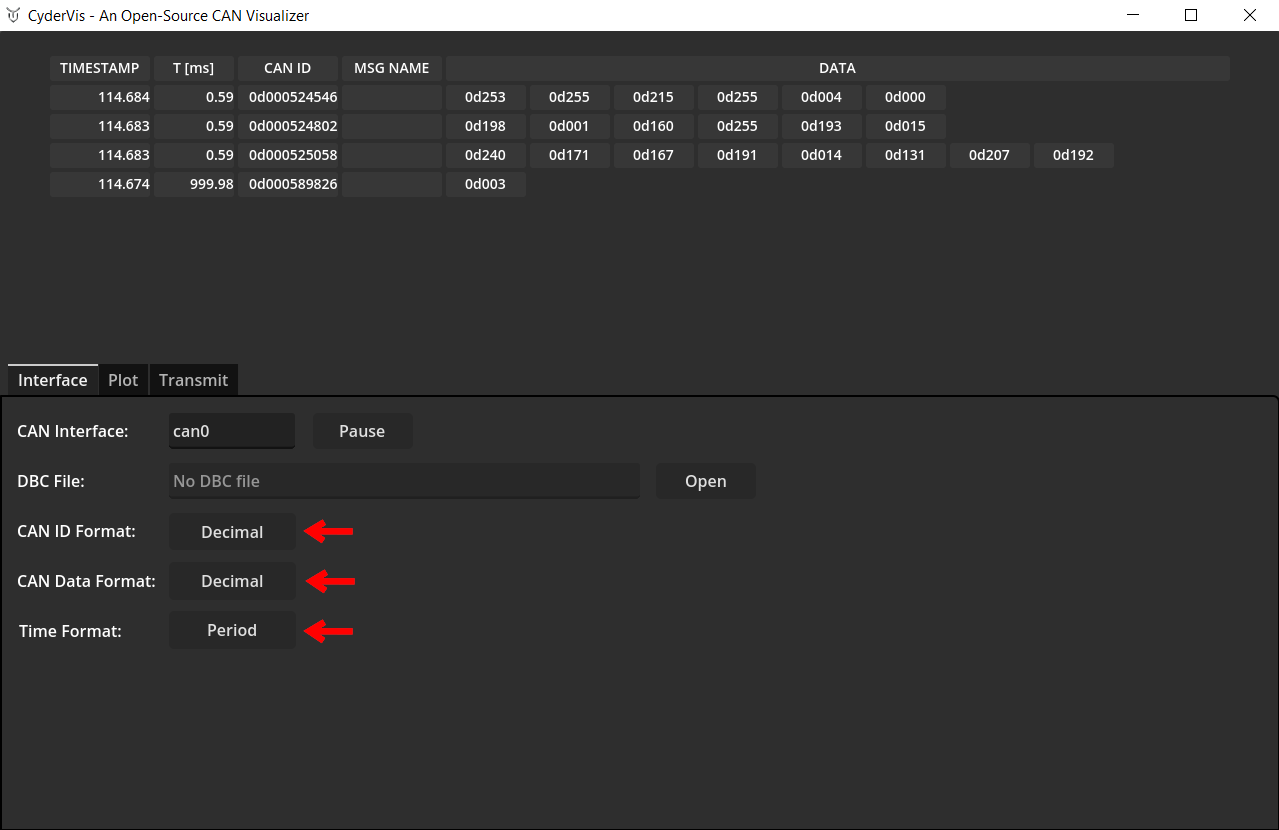
Adjust Display Options
Use the display option toggles to customize how CAN data is displayed.
These toggles control message formatting and visualization preferences.
Load a .dbc File to Decode Frames
A DBC file defines how to decode CAN frames into human-readable signals.
You can learn more about the DBC format here:
https://docs.openvehicles.com/en/latest/components/vehicle_dbc/docs/dbc-primer.html
We provide example .dbc files for Cyder products at:
https://github.com/cyborg-dynamics-engineering/cyder-vis/tree/main/gdextension_can_io/examples
To load a .dbc file:
- Click Open next to the DBC File dialog.
- Select your
.dbcfile. - Once loaded, decoded frames will automatically appear in the viewing table.
Plotting Decoded Data
- Open the Plot tab.
- Click on any decoded variable name in the viewing table to toggle it on or off in the plot view.
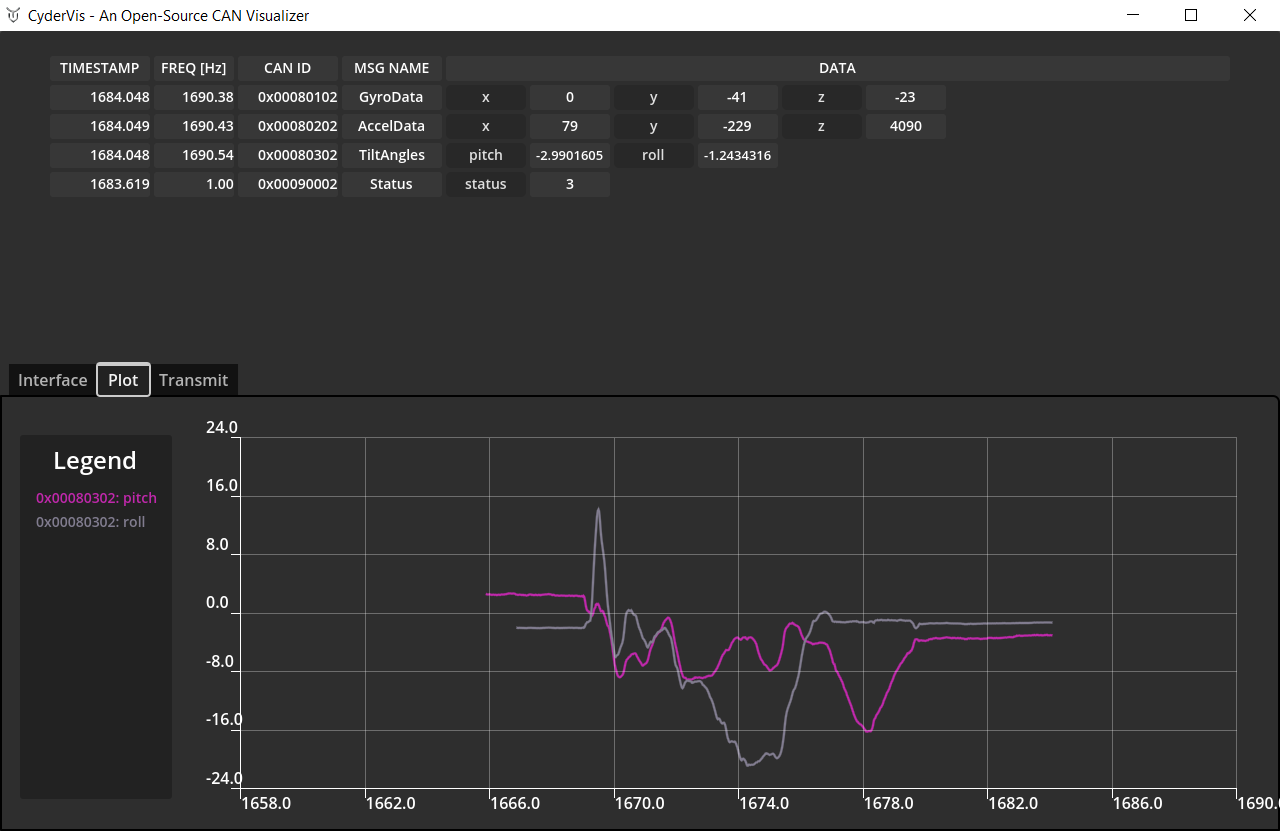
💡 Note:
Data must be decoded using a .dbc file to enable plotting.
Step 7: Transmitting Frames
- Open the Transmit tab.
- Press 'Add New' to create a new message.
- Fill out the Cycle Time, Frame ID and Data fields.
- For extended IDs, select the EXT ID checkbox.
- Click the 'Send' checkbox to begin transmitting.
💡 Notes:
- A Cycle Time of
0designates a one-shot message — it sends once each time you click the Send checkbox.- Messages cannot be edited whilst sending.
Troubleshooting
- CyderVis doesn’t connect:
Ensure thecanserveris running and the interface name matches (e.g.,can0).