Getting Started on Linux
This guide walks you through setting up and running CyderVis on Linux.
Step 1: Download and Run CyderVis
-
Visit the CyderVis Releases page on GitHub.
-
Under the latest release, expand the Assets dropdown and download the Linux
.zippackage.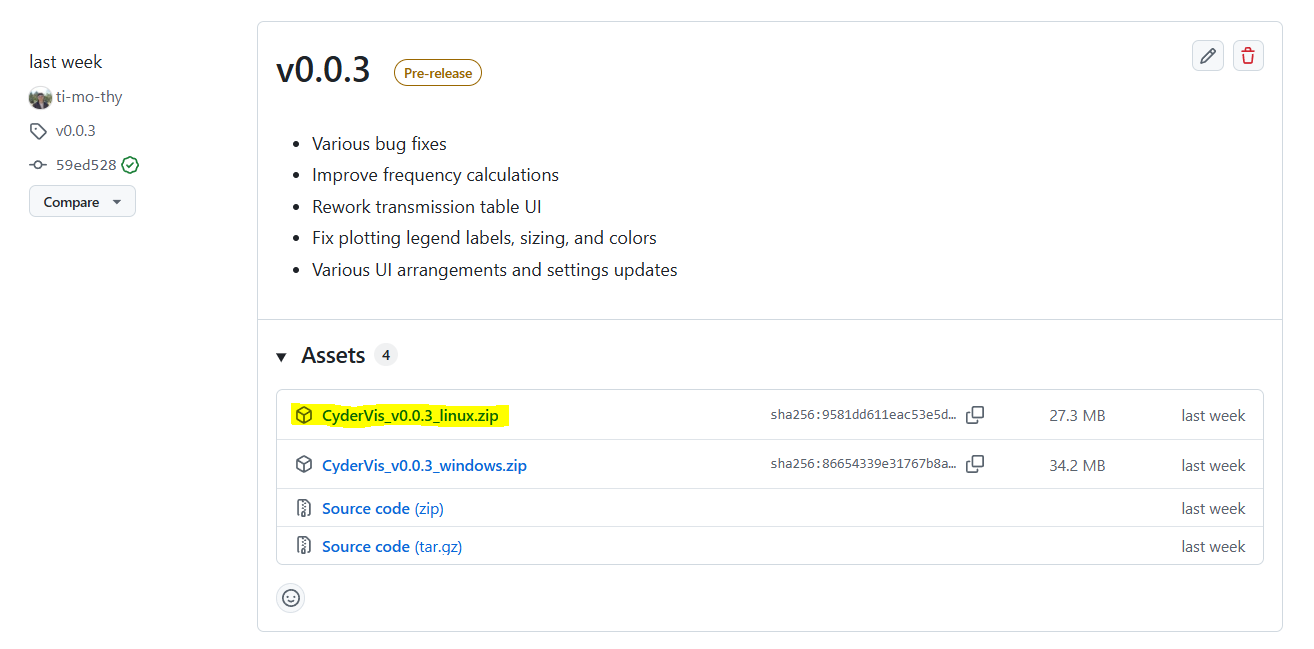
-
Extract the downloaded
.zipfile to your preferred location. -
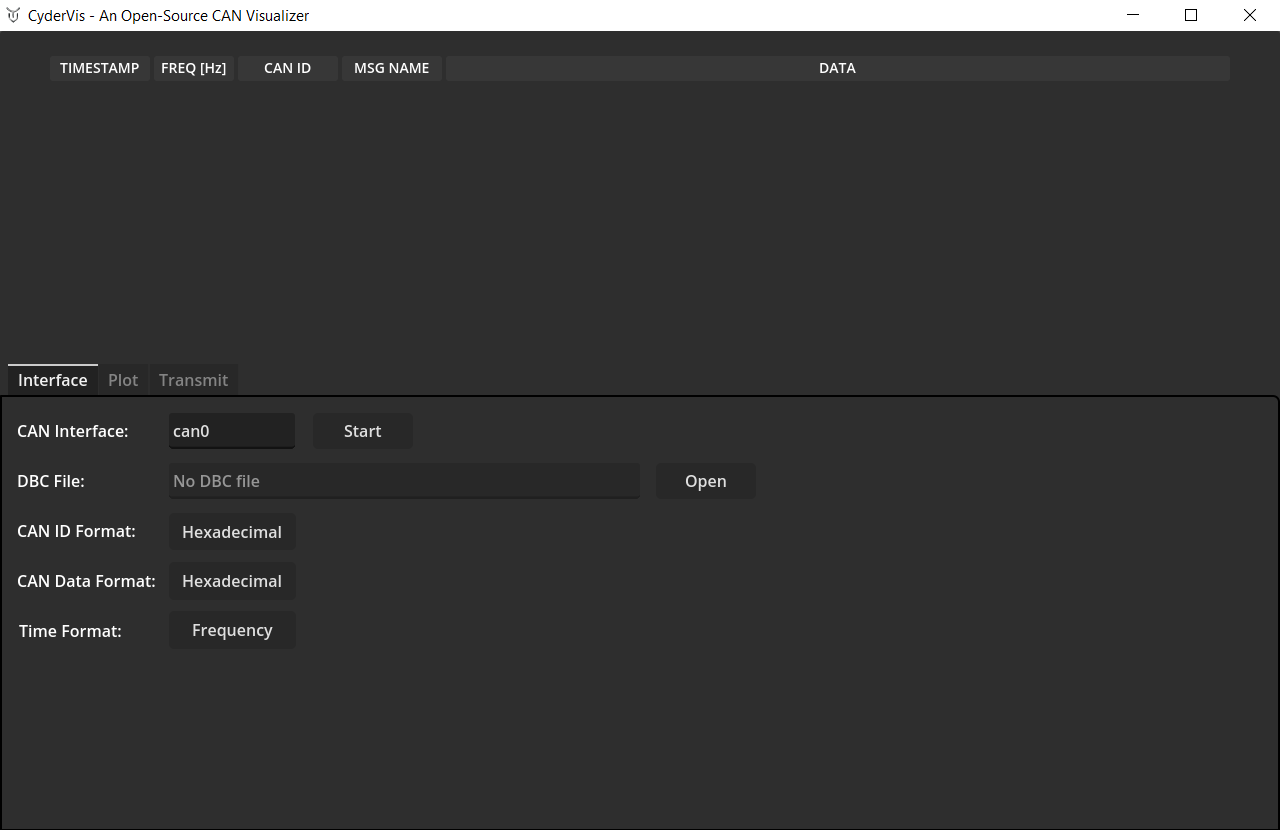
Run the executable:
./CyderVis_vx.x.x_linux
Once launched, the CyderVis window will open:
Step 2: Bring up a CAN interface
With your USB CAN adapter connected, bring up the CAN interface using the ip command:
sudo ip link set can0 up type can bitrate 1000000
This starts the can0 interface at a bitrate of 1 Mbps.
You can verify the interface is active using:
ip link show can0
By default, CAN devices have a tx queue length of 10. If sending many messages at a fast rate, it's usually a good idea to increase this. After bringing the interface up, the tx queue length can be increased using:
sudo ip link set can0 txqueuelen 1000
⚙️ Note:
Replacecan0and1000000with your actual interface name and bitrate if different.
User Guide
With the CAN interface up, move on to the CyderVis User Guide